Maid Service – Kitchen Cleaning Tips and Tricks How To Guide
November 10, 2017
Sometimes the hardest part about house cleaning is knowing where to start.
It’s hard to tell where to start your housekeeping, so the second hardest part of house cleaning is knowing when the job is done. Good cleans require thorough attention to detail – you really have to get into all of the nooks and crannies for that deep-clean feeling. Most likely, you won’t strictly follow this kitchen cleaning guide and that’s fine because it’s just a guide! The idea is to at least lend you some sort of framework, to begin with.

1. Clear your countertops.
For a thorough and effective cleaning, you need to remove any clutter that doesn’t belong. This allows you to quickly and effectively clean surfaces, without having to constantly move and clear items. Think of this as your prep-work.
2. Clear your shelves and empty your refrigerator.
Once you’ve removed your clutter, you’ll want to move items off of the shelves, so that you can clean them and the surrounding space, as well as and throw away expired food and remove shelves and drawers from your fridge. Set aside food-storage containers for soaking in your sink, then begin wiping down the shelves and food contact areas with non-toxic, bleach-free cleaner sprayed onto a rag or cloth.
3. Fill your sink with hot water.
You’ll also want to add a few dashes of dish soap or detergent. Crisper drawers, refrigerator shelves, dish racks, and the microwave turntable will most likely need soaking.
4. Dust the outermost and highest zones.
This is where the top-down approach pays off. You’ll knock dirt and debris to the floor, making it easier for you to sweep them up later – a telescoping duster may help. Begin cleaning from the highest and outermost points of your kitchen and move toward your sink. The top of your refrigerator is most often neglected, but also be sure to reach corners, light fixtures, and the tops of your cabinets. Next, wipe the doors and the pulls of the upper cabinets and anything else (frames, hooks, vent grates) you encounter as you circle the room. With a fresh damp, soapy cloth, wipe down the backsplash if you have one. Once you’ve reached the sink you’ll be ready to continue.
5. Clean the outside of your fridge.
You’ll also want to hit the front of your dishwasher, and the oven, while paying attention to the handles and the edges. Next, clean the sides of the dishwasher door with an all-purpose formula or a cloth dipped in a solution of hot, soapy water and white vinegar. This mixture also works well for cleaning stovetops and countertops – unless they’re marble or granite. Pro-tip: Use a soft toothbrush or a spatula wrapped in a cloth to reach all of your tight spots, like the folds in-between rubber gaskets and panels.

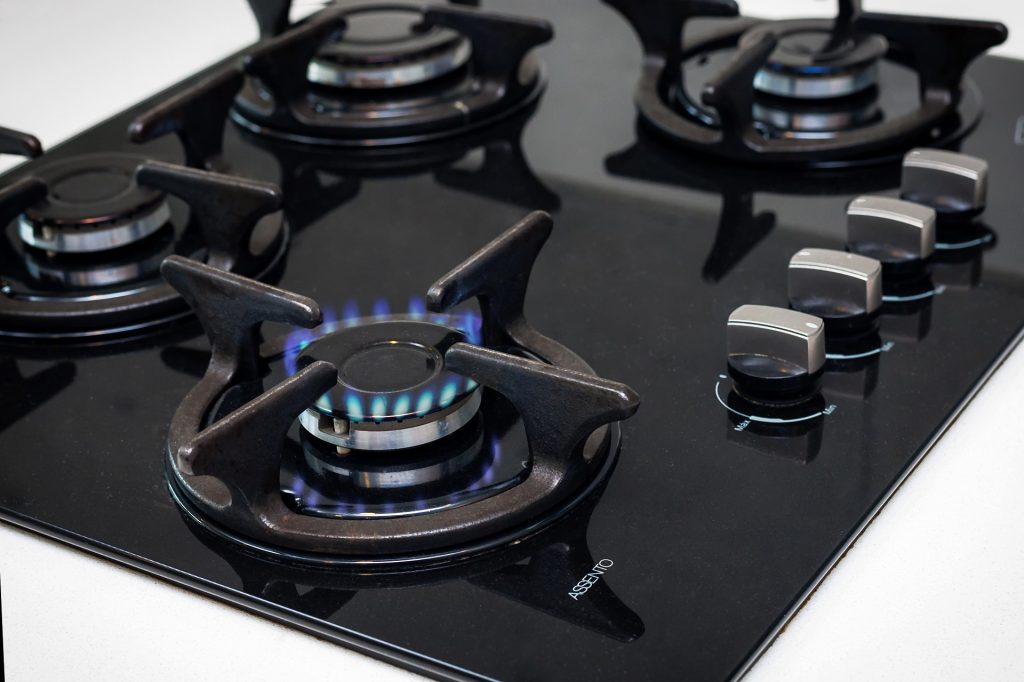
6. Your stovetop needs attention too.
Stovetops can be tricky. Begin by wiping your crumbs to the floor – you’ll sweep them up later. For traditional stoves, in most cases you can get away with using an all-purpose cleaner; however, for newer glass-top stoves, you will need a specialized degreaser/cleaner. Regardless, you’ll want to spray and let soak for a few minutes before returning to the surface. Once you return, wipe and clean the surface and be sure to swap out your greasy cloth for a fresh one – you don’t want to spread grease to other surfaces of your kitchen.
7. Clean the inside and outside of your Microwave.
Begin from the inside and work outward. It’s ok to sweep your crumbs on the floor, but spray the inside with all-purpose cleaner and let it soak for a few minutes. Come back with a with a damp, soapy cloth, and remove the grease and grime, then wipe down the exterior. For stainless steel appliances, try using a moist cloth with a mixture of diluted white vinegar and water.
8. Clean your other appliances.
Coffeemakers, toasters, stand mixers, and other small appliances have a lot of nooks and crannies for harboring bacteria. Remove any components that you can soak and clean separately, then clean from top to bottom, using your multipurpose cleaner/degreaser.
9. Now you should scrub your countertops.
Begin scrubbing with small, circular motions, using a fresh cloth and your multipurpose cleaner. Again, don’t worry about getting all of your crumbs on the floor.
10. Then you can clean your lower cabinets
Now is also a good time to reinstall all of the drawers and shelves from your refrigerator and other cabinets.

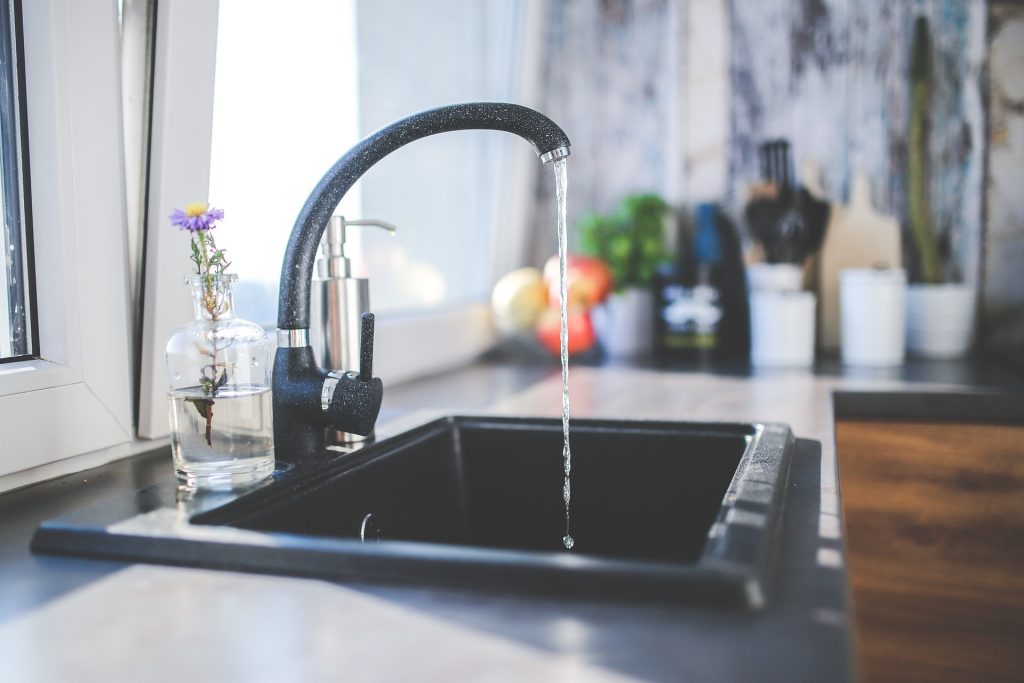
11. Drain your sink.
All of those dirty dishes, crumbs, dirt, and grime that you’ve moved toward the sink can now be cleaned up. Since we’ve moved from the outside in we can now clean and rinse the sink with hot water and a stronger solution cleaner – perhaps a bleach-based one if that’s your preference. For soap and other types of scum, buff the inside of the sink basin with a mild abrasive cleanser and a sponge, then rinse with hot water. Be sure to wipe down the faucet, handles, and all other contact areas. And remember, that dirty sponge of yours needs special attention. Don’t just throw it in the dishwasher, instead soak in a mild bleach solution.
12. Finally, it’s time to sweep the floors.
Electro-static dry dusters can be helpful, but sometimes nothing beats a traditional broom and dustpan. You’ll want to get right up to the baseboards and under your cabinets, where crumbs like to hide. As always, for a deep clean you have to go the extra mile and pull out appliances to reach behind them. Once you sweep up all of the big chunks, follow up with a mop or any other water-based system like a steam cleaner. Again, start at the furthest corner and work your way inward. Since you’ve already cleaned your sink, be sure to contain your dirty mop water in the proper bucket.
13. Collect your dirty rags and materials and empty your trash.
Once you replace the bag, be sure to clean out the trash container as well. The inside is often a mess.
14. Ta-Da! You’re done!
How American Housekeeping’s Maid Service Keeps Your Kitchen Clean:
Our maid service in Reno, Sparks, Carson City, and San Antonio run through a full kitchen cleaning services checklist during each cleaning session. We always:
Mop, sanitize & shine kitchen floors
Clean & sanitize kitchen counters
Clean stove (including burner rings)
Clean Microwave & Small Appliances
Clean outside of Refrigerator
Clean all cupboard surfaces
Our San Antonio and Reno maid service is more than happy to accommodate your extra kitchen cleaning requests. Most all of our Reno, Sparks, Carson City, and San Antonio house cleaning products don’t contain bleach, but we can also make special cleaning product accommodations. If you have any further question, feel free to connect with us. We would love to hear from you.
