Housekeeping Bathroom Checklist For Your Home
December 28, 2017
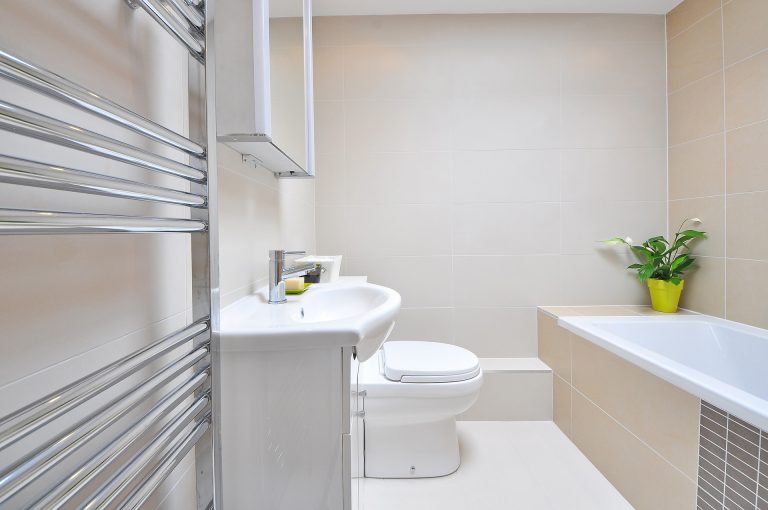
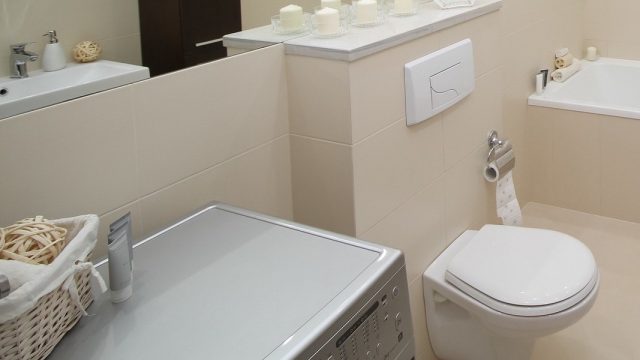
Remove rugs & wastebaskets and gather your materials.
The first step of this bathroom cleaning checklist is to remove any rugs, wastebaskets and any other extraneous materials from your bathroom.
The idea is to eliminate any items or materials that will get in the way of your cleaning efforts. Having to clean around something is inefficient.
Now is also a good time to gather all of your cleaning materials and dawn a pair of latex gloves.
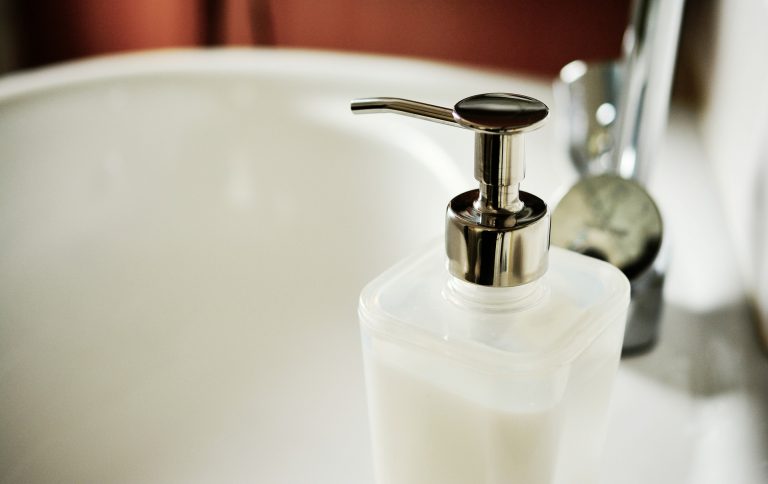
Remove soaps and show materials.
You’ll want to make sure that once you start spraying cleaning solutions and harmful chemicals that all of your soaps and body washing materials are out of the way.
Contaminating these items can result in health and hygiene problems.
Moving these items will also ensure that you don’t miss any spots while cleaning.
Clean bathroom cabinets – top down, outside in.
Now that you have removed clutter, consider the top-down, outside in approach to cleaning.
For the most efficiency, you only want to clean a surface once. This means working in a way that keeps you from contaminating a surface once it is clean.
Begin with your cabinets and or shelving that is higher up.
Use a damp cloth sprayed with your choice of all-purpose cleaning material and water, then from top to bottom.
Come back with a dry cloth and dry all surfaces.
Save cleaning the knobs and other contact areas for the end.
Apply tile and grout cleaner to tub and shower surfaces.
Another way to expedite your cleaning efforts is to allow the cleaning solution to sit on a surface and do its work. Sometimes we make cleaning harder on ourselves, simply because we don’t allow the cleaning solution to soak in and lift stains or soap scum.
Again, work smarter, not harder.
Disinfect the toilet.
Now that all of the shower and tub surfaces are soaking, it’s a good time to move on to the toilet.
Again, work from the inside, out – scrub the bowl with a toilet brush and your choice of cleaning agent. Allowing antacid tablets to dissolve and soak in the bowl, for 20 minutes can help with stubborn stains.
Be sure to clean the outside of the toilet with your choice of cleaning.
Fill a bucket with ¼ cup all-purpose cleaner and water to prep for floor cleaning.
Now is a good time to get your floor cleaning solutions in order while you wait for the shower and tub surfaces to soak.
Place your bucket and dirty rags in the sink (you’ll clean the sink near the end).
Don’t worry about dirtying your sink. This is why you should save the sink as one of your last cleaning tasks. You’ll need it to complete everything else, so there’s no sense in cleaning it at the start.
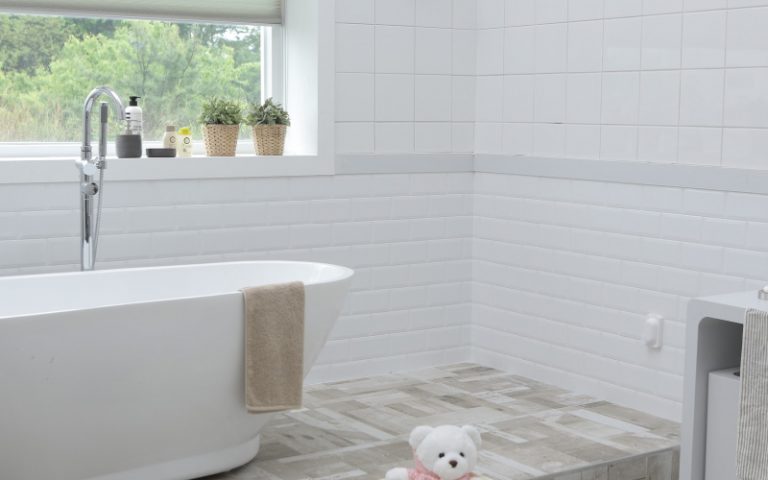
Scrub and wet bathtub and shower walls with hot water.
Now you can start scrubbing.
Make sure that you are thorough and that your cleaning solutions did their job.
Most likely, you will need a variety of scrubbing tools to reach odd corners, nooks, and crannies.
Once you finish scrubbing, spray or all of your surfaces with hot water. This is the ultimate disinfectant.
Clean shower track
this is a detail item that is sometimes neglected.
Scrub and clean your shower and soap racks.
Replace them once you have finished cleaning the tub and shower surfaces.
Rinse off walls of tubs and showers, then dry with clean cloth.
This is where you perform your final check of the surface and ensure that it is clean.
Spray the vanity area with tile and grout cleaner, let sit.
As with the shower and tub, it’s best to let this area soak while you perform other subsidiary cleaning tasks.
Wipe down lower cabinet fronts.
Since you have already cleaned your upper cabinets and shelves, now is a good time to move on to the bottom ones.
This is also a good time to check your linen and toiletry supply – they may need restocking.
Use grout brush along faucet and drain.
Start scrubbing.
Again, you may need a more specialized set of scrubbing tools to make sure that all the nooks and crannies are cleaned properly.
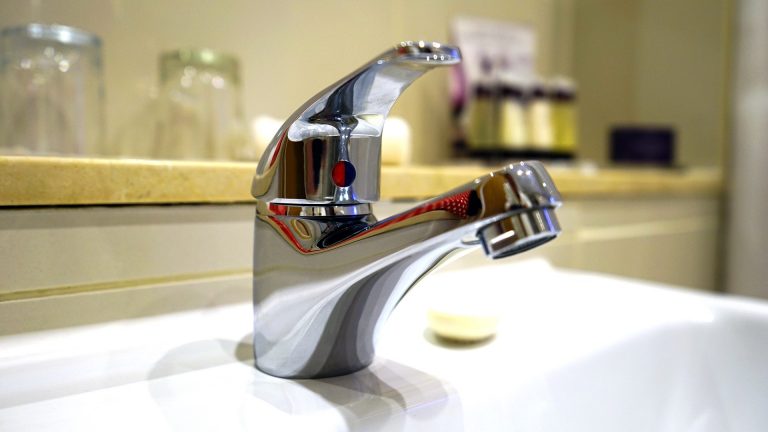
Scrub and rinse the sink and your rags.
Now you can start cleaning the sink.
Remove all of your dirty cleaning materials and get to work.
Use a cloth spritzed with your choice of cleaning agent and then buff with a clean cloth.
Clean mirror: spray glass cleaner and buff.
Spritz a microfiber cloth with an ammonia-based glass cleaner. Dishwashing liquid and water work as well.
Wipe down the vanity countertop.
As you move from the sink basin, wipe down the vanity counter. This will catch your excess mirror cleaning solution.
Remove dirty cleaning materials, then scrub and sanitize sink basin.
Wipe the sink and the vanity top with a damp cloth and cleaning solution. Rinse completely and go over the area a second time.
Scrub the drain with a toothbrush and scrape buildup from the joints between the sink and the counter with the edge of an old credit card.
Once you have the mirrors, vanity and sink area clean, remove all of your cleaning supplies and ready yourself for the floor.
Wash the floor with a cleaning solution and allow to dry.
With all of the other surfaces clean, its time to tackle the floor.
Using a sponge or your choice of a cleaning tool, spray and wet the floor surface from the back of the room toward the door.
Work in one or two-foot sections at a time and move from side to side.
Be sure to disinfectant and rinse with hot water.
As you move from back to front, dry your previous floor section with a clean towel or rag.
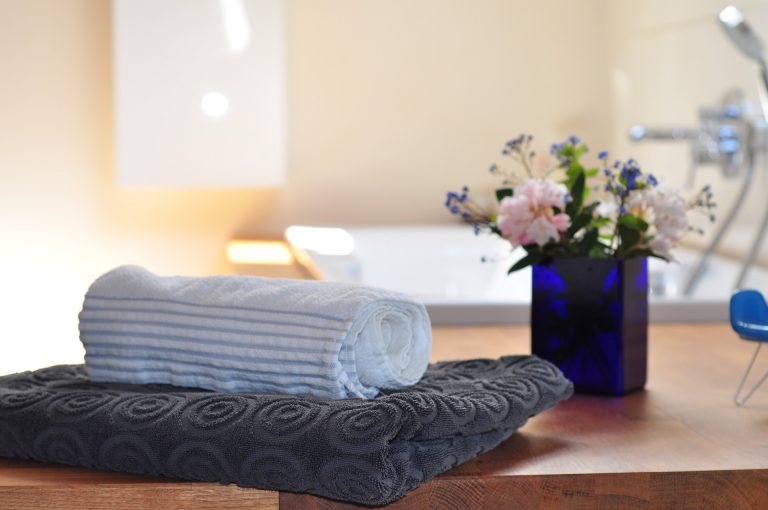
Replace bathroom rugs, mats and wastebaskets and restock.
As you replace your rags, mats, wastebaskets and any other material make sure they are clean.
Spray both the inside and the outside of the wastebasket with all-purpose cleaner, and wipe it down with a cloth.
Finally, you’ll want to make sure your linens and other toiletry items are stocked and in their proper place.
American Housekeeping Bathroom Checklist
If you liked our housekeeping bathroom checklist, you might also like our whole housekeeping guide or our kitchen cleaning guide. Here you’ll find our step-by-step break down for a whole house and kitchen cleaning the American way.
At American Housekeeping, we are more than happy to accommodate your housekeeping needs. If you have any further questions, feel free to connect with us or get your free housekeeping quote today.
